
Pretty Juice
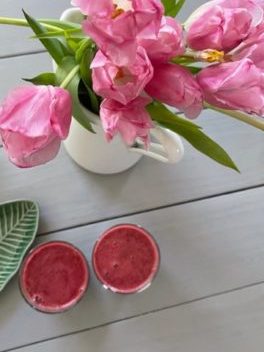
{ RECIPE} 1 serving 1 small beet , peeled 2 celery branches 1 apple cored 2 inches fresh ginger roots 1/2 cucumber peeled…
{ RECIPE} 1 serving 1 small beet , peeled 2 celery branches 1 apple cored 2 inches fresh ginger roots 1/2 cucumber peeled…
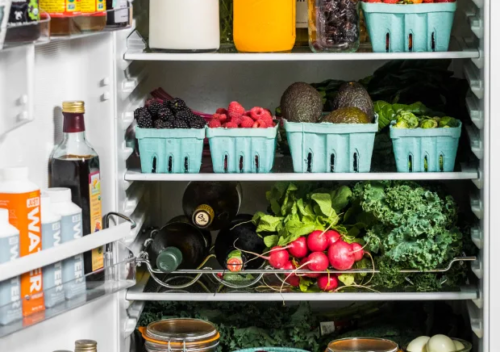
Part I How to implement better shopping, cooking and eating strategies: How to Maximize your grocery shopping experience, save time and money? How…
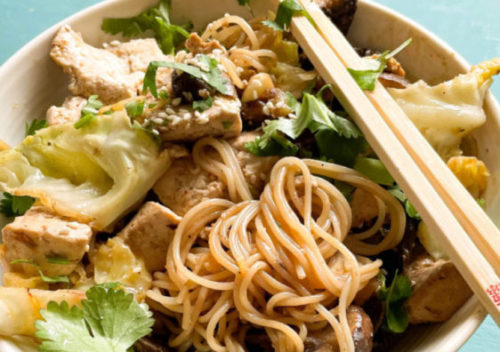
Plant-based & Gluten Free 1 serving For the bowl 1 cup Rice noodles ( cooked as per package instructions) 1/2 firm organic tofu…

I never believed in diets. Except for medical reasons strickly recommended by a physician or if you have food sensitivity, food allergy or…

If your 2022 goals are: Eat healthy Get fit Find a routine Live a balanced lifestyle Eat intuitively Feel better Sleep better Then…

Another salad? Yes, but this one is the ultimate one, the unique one, the pretty one, the extraordinaire one, the happy and feel-good…
From June 1st 2021 to August 5th 2021, I will teach cooking camps in the following cities RIVERSIDE MURRIETA TEMECULA ESCONDIDO. **** all…
Chocolate-Banana Bread (gf) I did not grow up on classic American desserts and treats. Born and raised in the South of France our…
During the month of September , I will teach kids and adults through the cities of Riverside ( Mondays) , Menifee (Tuesdays) and…
I am very excited to announce that I will make live Almond Croissants Friday 8/7 at 11 am PST on Instagram. Share this…